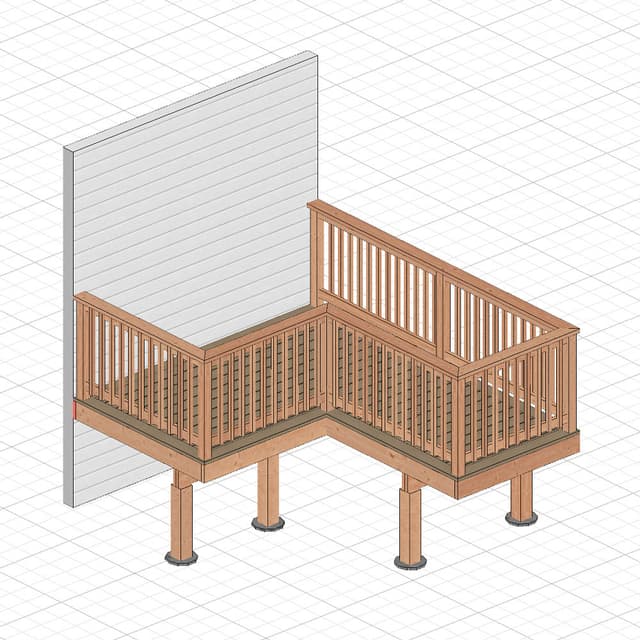
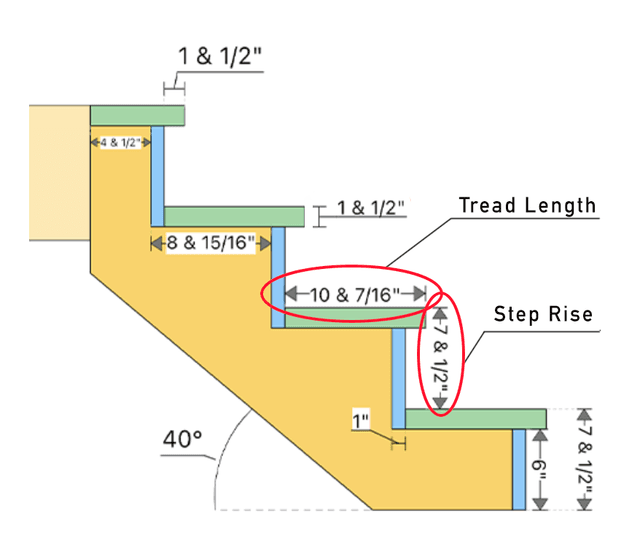
Building an L-Shaped Staircase with RedX Stairs
Welcome to the RedX Stairs tutorial! In this guide, we'll walk you through the steps to design an L-shaped staircase using the RedX Stair App.
Step 1: Open the RedX Stairs App
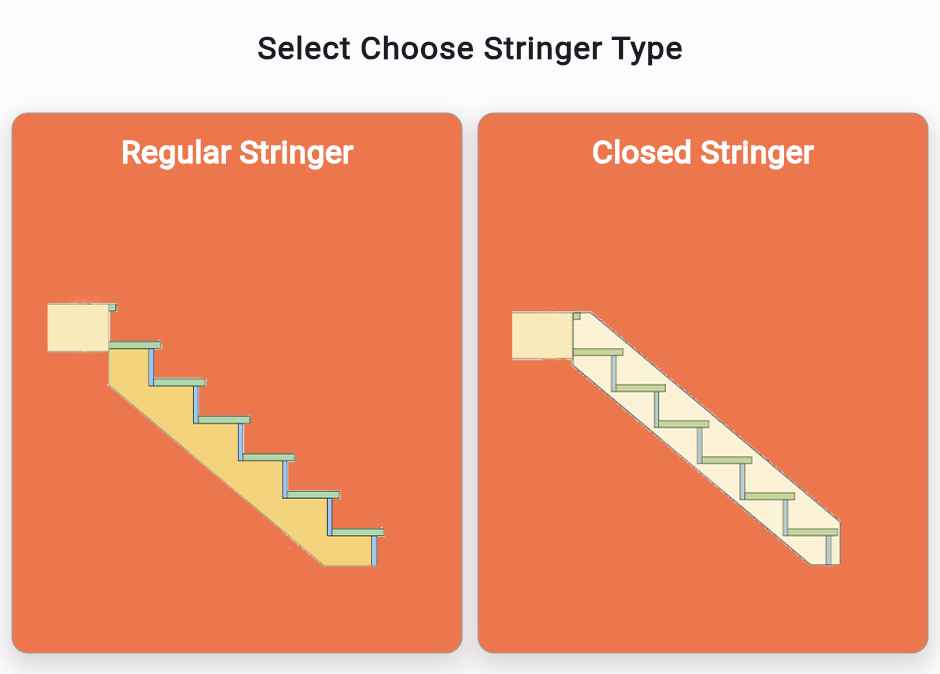
First, open the RedX Stairs app on your device. You will be prompted to choose the stringer type. You can select between a regular stringer or a closed stringer.
Step 2: Default Values and Cut List
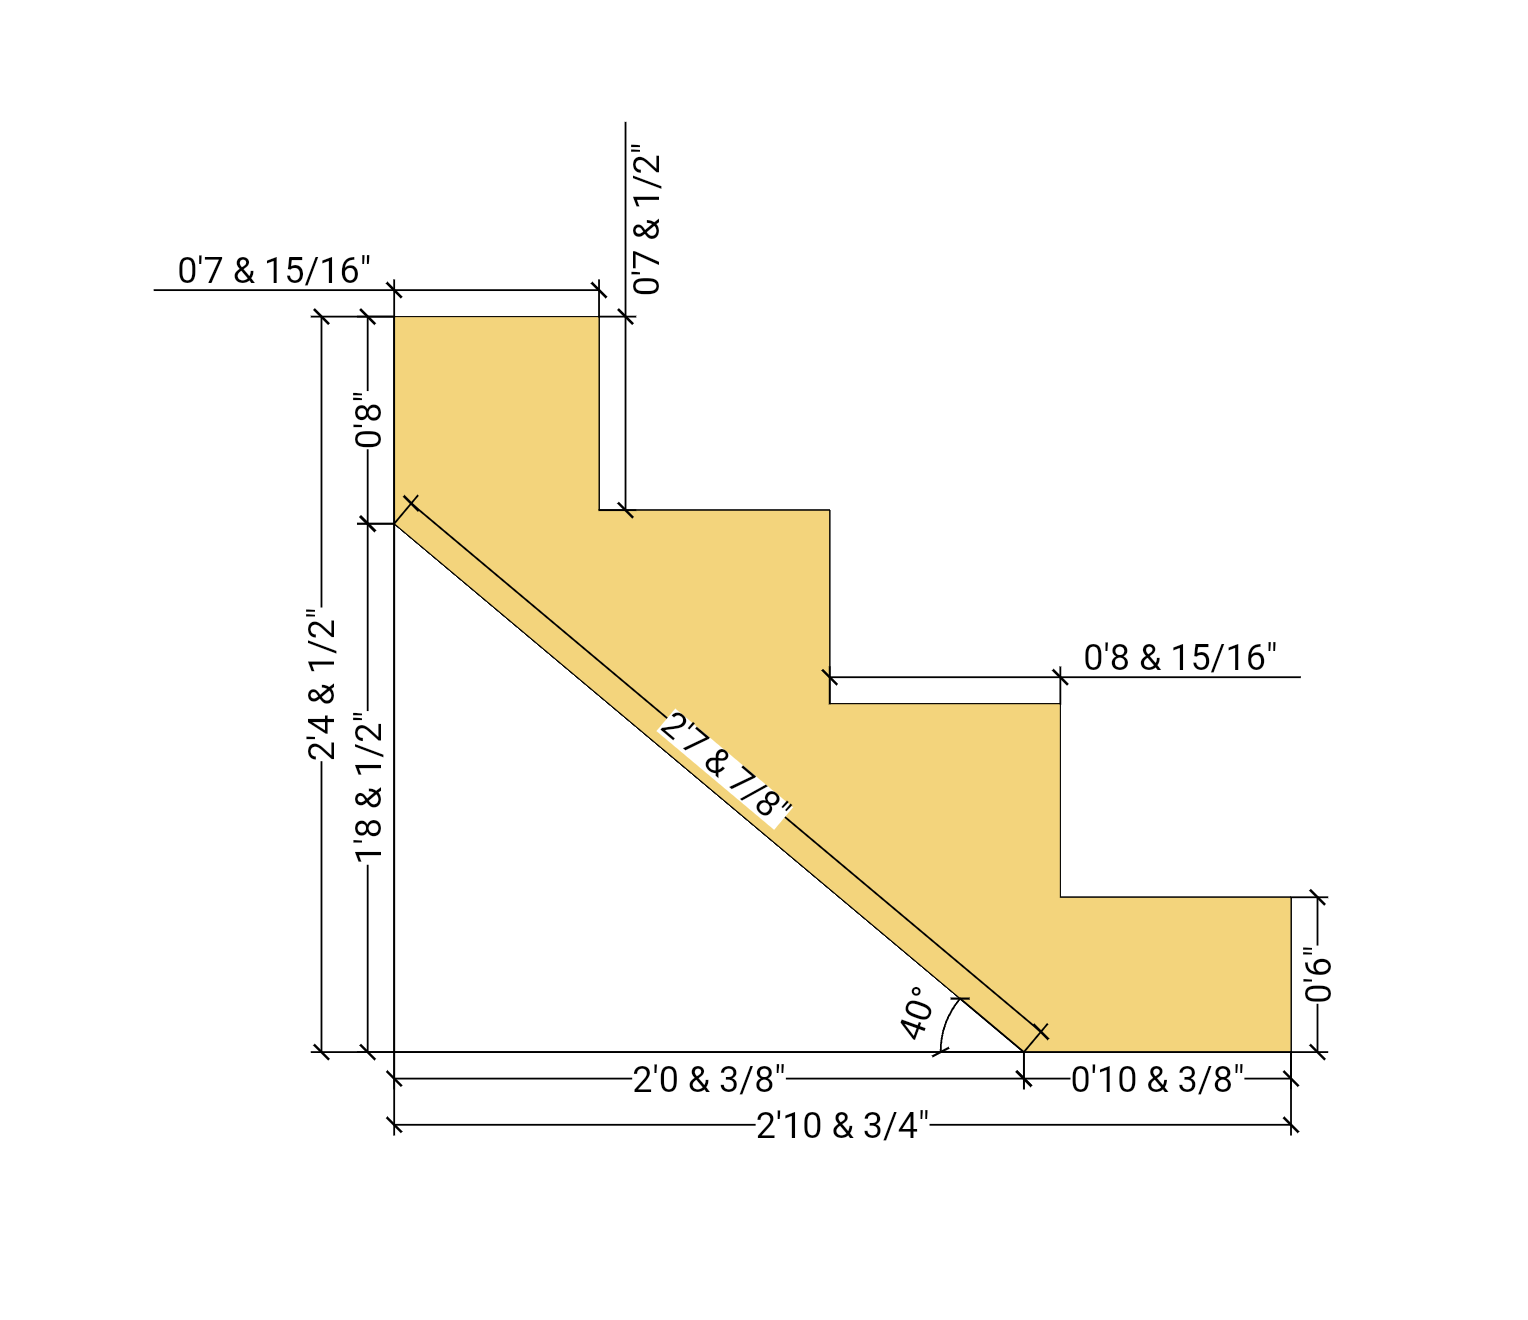
Once the app loads, you'll see default values for a staircase design. These values are pre-set to give you a starting point and can be customized to fit your specific needs. Scrolling down, you will find the cut list, which includes plans for the upper stringer, lower stringer, tread, and riser.

Each component in the cut list is selectable. Click on any component to view the corresponding blueprint. This feature is helpful for examining specific parts of the staircase in detail.
Step 3: Customizing Your Staircase
To start customizing your staircase, press the button in the bottom right corner to open the measurements panel.
Customizable Parameters
Here, you can adjust various parts of the staircase:
- Total Stair Rise: The overall rise of the staircase.
- Staircase Total Width: The width of the staircase structure itself, which might include stringers, treads, and risers.
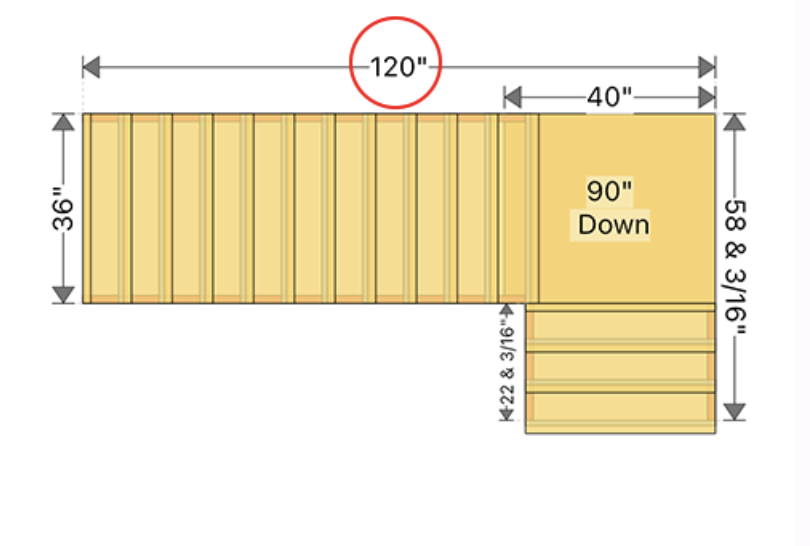
- Total Staircase Run or Stair Angle: Enter the total staircase run (the horizontal distance covered by the stairs) if you know it, or input the stair angle if you prefer. The app will automatically calculate the other parameter based on your input.
- Number of Risers: Set the total number of risers in the staircase. This determines how many steps will be in each section of the L-shaped stairs.
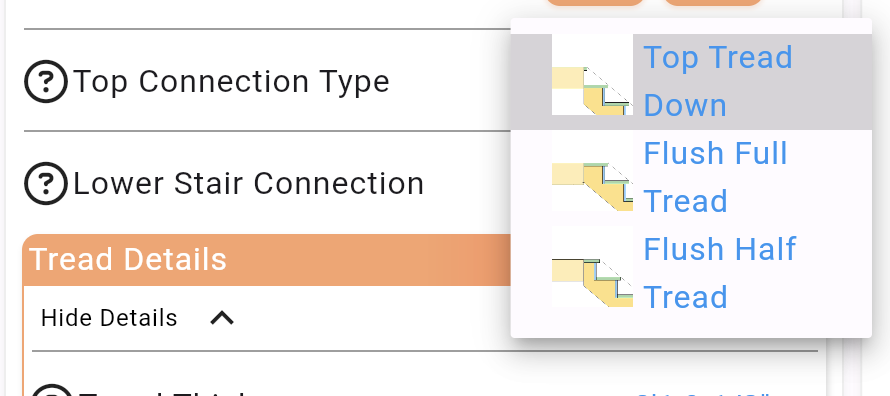
- Stair Connection Type: Choose from different connection types:
- Top Tread Down: The tread sits on top of the stringer.
- Flush Half Tread: The tread is flush with the top edge of the stringer but extends halfway over.
- Flush Full Tread: The tread is completely flush with the stringer edge.
- Tread and Riser Customizations: Adjust the tread thickness (how thick the step is), riser thickness (how thick the vertical part of the step is), and nosing width (how far the tread extends beyond the riser). You can also choose to show or hide the riser boards, depending on whether you want open or closed risers.
Landing Details
Under the landing details section, you can:
- Edit the Landing Location: Move the landing up or down to adjust its height relative to the stairs.
- Set the Top Stringer Landing Support: Choose how the top stringer is supported at the landing.
Stringer Depth
Finally, you can customize the stringer depth. This determines how deep the stringers (the support beams) will be, which can affect the overall strength and appearance of the staircase.
Step 4: Visualizing and Finalizing Your Design
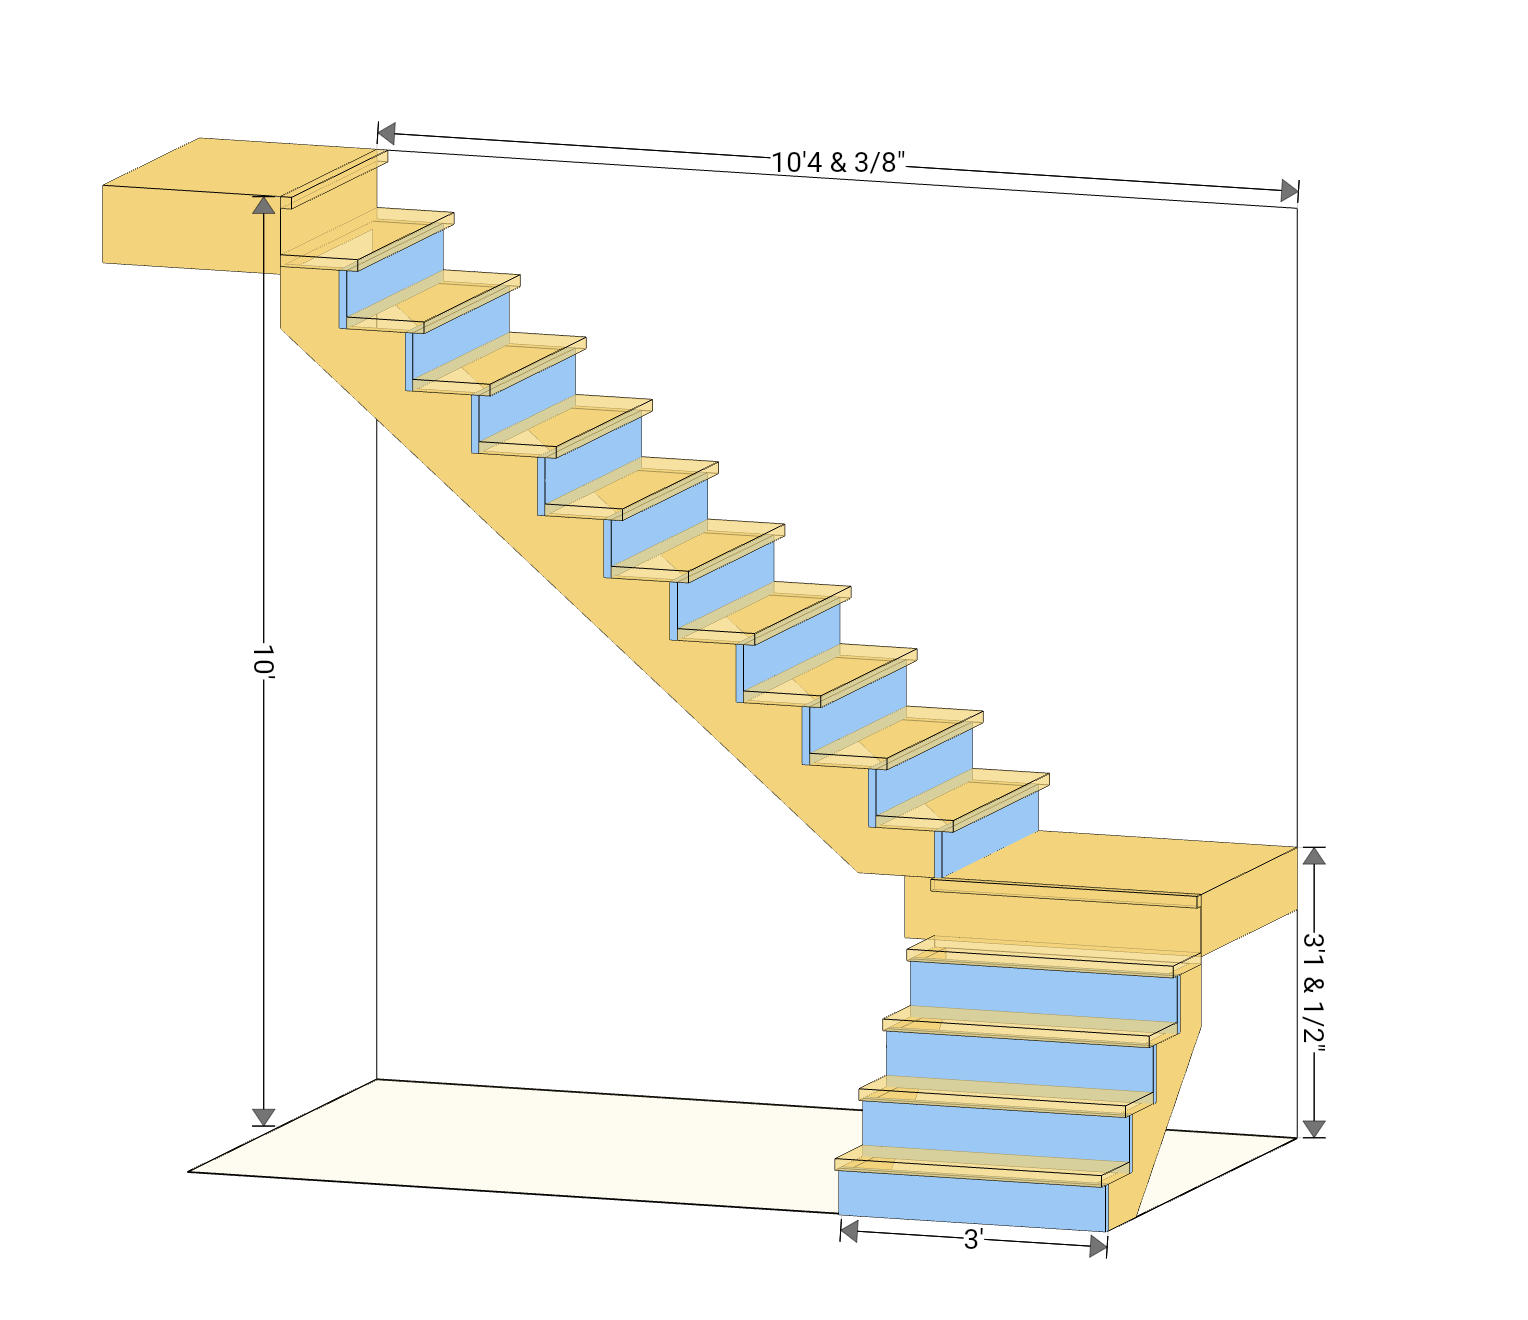
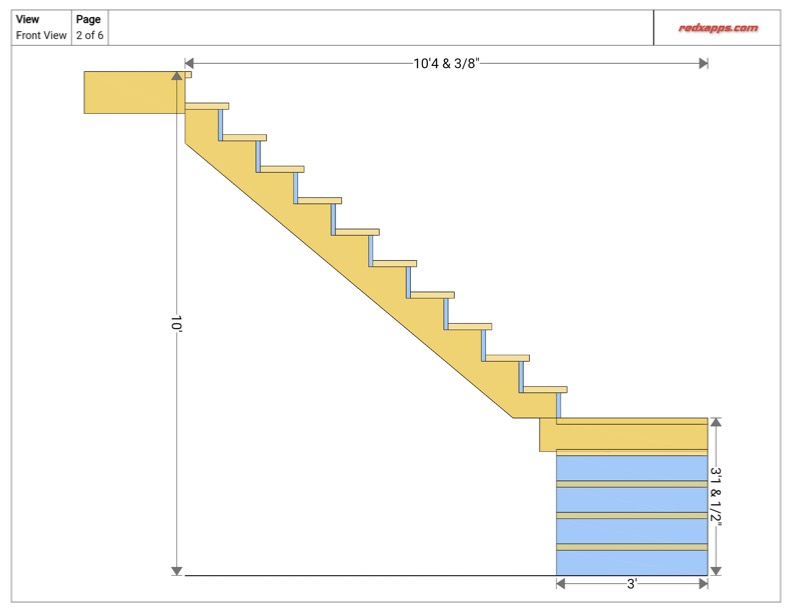
As you make changes, the 3D stair plan will automatically update. This feature allows you to visualize the measurements and design in real-time, ensuring that all adjustments are accurate and meet your expectations.
Step 5: Exporting Your Blueprint
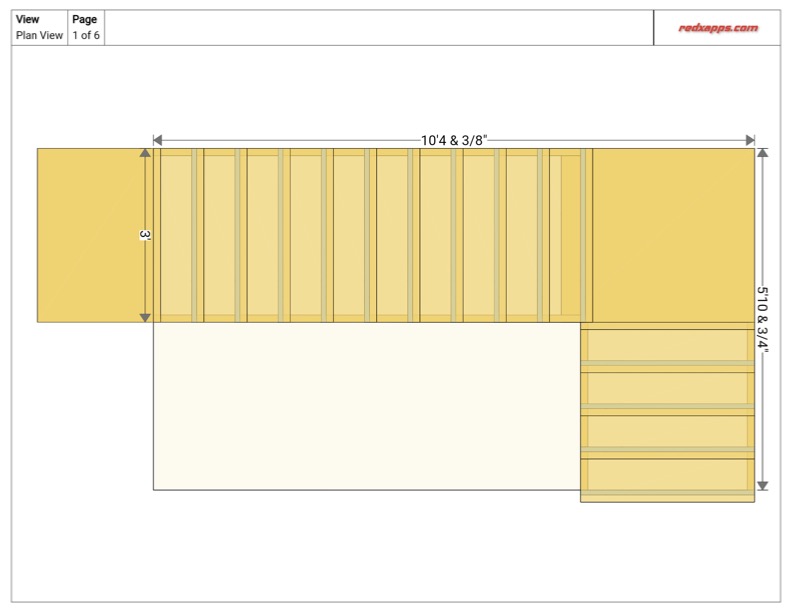
Once you're satisfied with your design, you can view the blueprint generated by the app. The blueprint provides detailed measurements and instructions for building your staircase. You have options to email, print, or export the blueprint directly from the app, making it easy to share with contractors or use on-site during construction.
We hope this tutorial helps you create the perfect L-shaped staircase using the RedX Stair App. Happy building!


